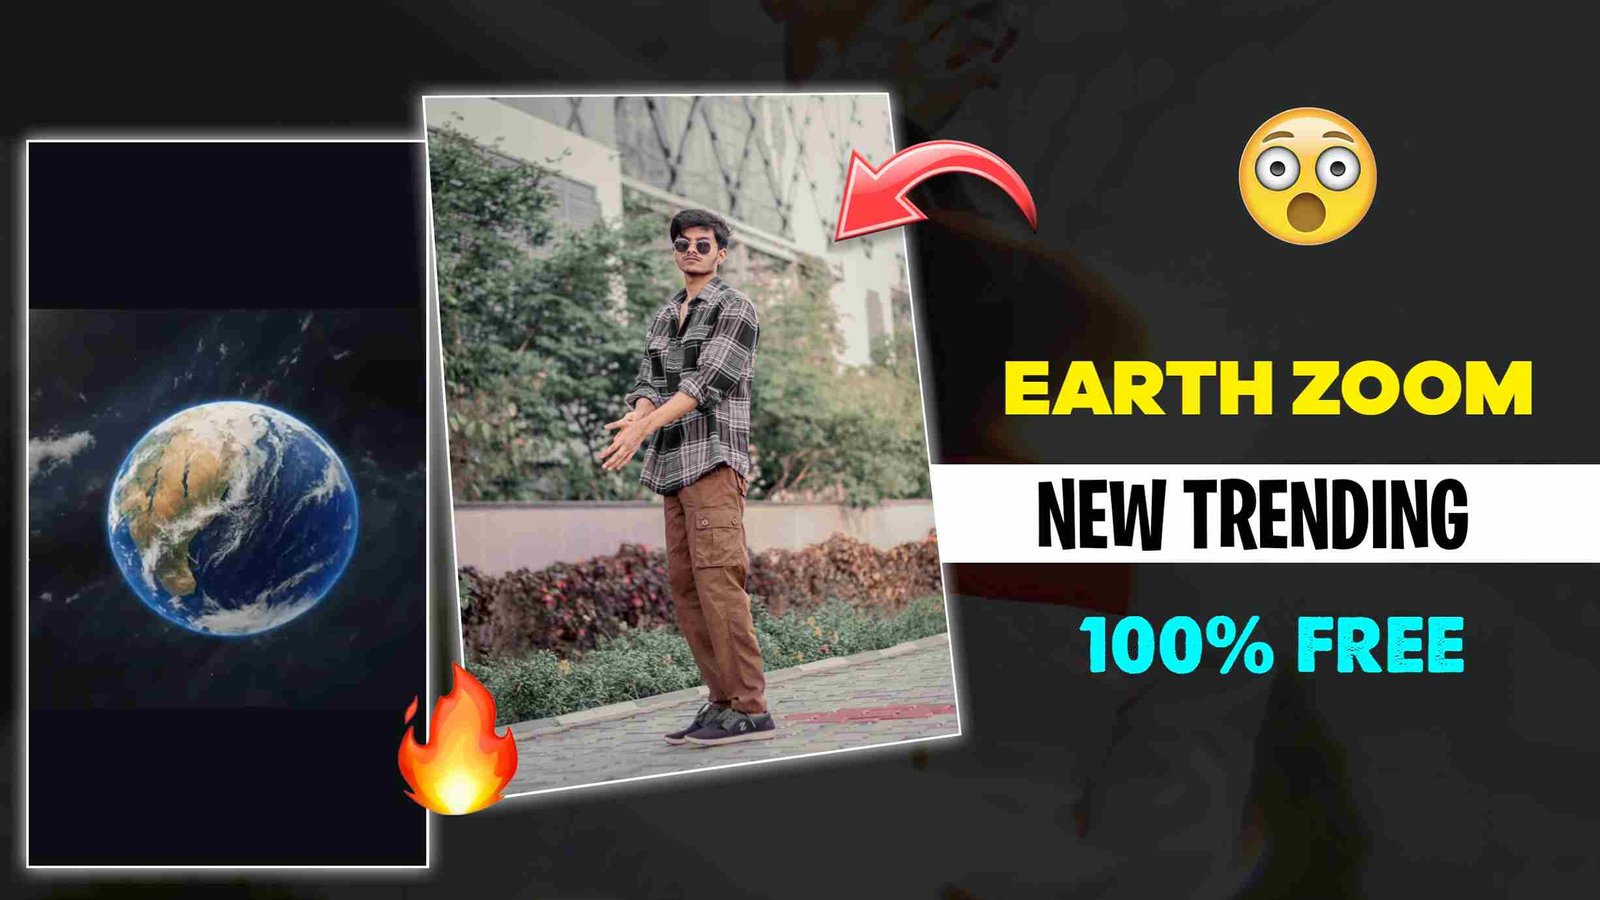
The Earth zoom out effect is a visually stunning animation often seen in films, presentations, or videos, where the camera starts from a close-up view of a specific location on Earth and zooms out to reveal the entire planet from space. This effect can be created using video editing or animation software. In this beginner-friendly guide, we’ll walk through creating this effect using Adobe After Effects, a popular tool for motion graphics. No prior experience is needed—just follow these steps!
What You’ll Need
- Adobe After Effects (or similar software like Blender or DaVinci Resolve)
- A high-resolution image of Earth (available from NASA or royalty-free stock websites)
- A computer with decent processing power
- Basic familiarity with your chosen software (we’ll keep it simple!)
Step-by-Step Guide to Creating the Earth Zoom Out Effect
Step 1: Gather Your Resources
- Download a high-resolution Earth image: Visit NASA’s Visible Earth website or a stock image platform like Unsplash to find a high-quality image of Earth from space. Look for images with at least 4K resolution for clarity.
- Optional: If you want to start from a specific location (e.g., a city), download a map or satellite image of that location.
Step 2: Set Up Your Project in After Effects
- Open After Effects and create a new project.
- Create a new composition:
- Go to Composition > New Composition.
- Set the resolution to 1920×1080 (Full HD) or your desired output size.
- Set the duration to 10–15 seconds for the animation.
- Name it “Earth Zoom Out.”
- Import your assets:
- Go to File > Import > File and select your Earth image and any location-specific images.
- Drag these assets into the composition timeline.
Step 3: Create the Starting Point (Close-Up)
- Add the location image (if using):
- Place your city or location image in the composition.
- Scale it up using the Transform > Scale option to make it appear as a close-up view.
- Position it so the focal point (e.g., a landmark) is centered.
- Set keyframes for zoom:
- Select the location layer in the timeline.
- Click the small triangle next to Transform to reveal properties.
- At the 0-second mark, set a keyframe for Scale (click the stopwatch icon).
- Move the timeline to 2–3 seconds, then reduce the scale to make the image appear to zoom out.
Step 4: Transition to the Earth View
- Add the Earth image:
- Drag the Earth image into the composition, placing it below the location layer in the timeline.
- Set its start time to align with when the location image becomes small enough to blend into the Earth view (around 2–3 seconds).
- Align the images:
- Adjust the position of the Earth image so the location matches its corresponding spot on the globe.
- Use the Opacity property to fade out the location image as the Earth image becomes visible.
- Continue zooming out:
- Set keyframes for the Earth image’s Scale property, starting from a large scale (e.g., 400%) and reducing it to about 50% over 5–7 seconds to show the full planet.
Step 5: Add Camera Movement for Realism
- Create a 3D camera:
- Go to Layer > New > Camera.
- Choose a preset like 35mm for a cinematic feel.
- Animate the camera:
- At the start, position the camera close to the location image (use Position and Point of Interest in the camera settings).
- Set keyframes to move the camera backward over time, revealing more of the Earth.
- Add slight rotation or tilt for a dynamic effect.
- Enable depth of field (optional):
- In the camera settings, turn on Depth of Field and adjust the Focus Distance to blur the background slightly as you zoom out.
Step 6: Enhance with Effects
- Add a space background:
- Create a new solid layer (Layer > New > Solid) and color it black.
- Download a starfield image or use After Effects’ CC Star Burst effect to create a starry background.
- Place this layer behind the Earth image.
- Add glow to Earth:
- Select the Earth layer, go to Effect > Stylize > Glow, and adjust the settings to give the planet a subtle atmospheric glow.
- Add motion blur:
- Enable motion blur for the Earth and location layers (click the “M” icon in the timeline) to make the zoom smoother.
Step 7: Finalize and Export
- Preview the animation:
- Press the Spacebar or use the Preview panel to watch your zoom-out effect.
- Adjust timings, keyframes, or effects as needed.
- Render the video:
- Go to Composition > Add to Render Queue.
- Choose your output format (e.g., MP4 via Adobe Media Encoder).
- Click Render to export your video.
Tips for Success
- Use high-quality images: Low-resolution images will look pixelated when scaled up.
- Smooth keyframes: Right-click keyframes and select Easy Ease for smoother transitions.
- Experiment with timing: Adjust the speed of the zoom to match your project’s tone (e.g., slow for dramatic, fast for energetic).
- Add sound effects: Import whooshing or ambient space sounds to enhance the experience.
Alternative Tools
If you don’t have After Effects:
- Blender: Use the 3D environment to create a realistic Earth model and animate the camera.
- DaVinci Resolve: Use the Fusion tab for similar keyframe-based animations.
- Online tools: Platforms like Canva or Figma offer simpler zoom effects, though with less control.
Conclusion
Creating an Earth zoom out effect is a fun and rewarding project that combines creativity with technical skills. By following these steps in Adobe After Effects, you can craft a professional-looking animation perfect for intros, presentations, or social media. Experiment with different locations, effects, and timings to make it your own!